
How to practice your signature with a printable sheet
Preview real A4 and Letter exports, print at actual size, and move from guided tracing to independent handwriting.
Start with the exact design you want to practice
Choose Practice this signature beside a font or AI result, or the practice button in Draw, Live or Creative. Your selected result opens in the practice tool in the same browser tab. Completed AI designs are also available from My studio.
Check the spelling and make sure you can comfortably reproduce the main shapes. Font and AI images are static examples; they do not tell you how a person would move a pen. The Live animation shows its synthesized stroke order, which you can adapt to your own hand.
Choose A4 or Letter, then print at actual size
These are images of PDFs downloaded from our practice tool. Both use the fictional name Robin Hayes in Allura. The paper shape and row spacing match their corresponding exports.
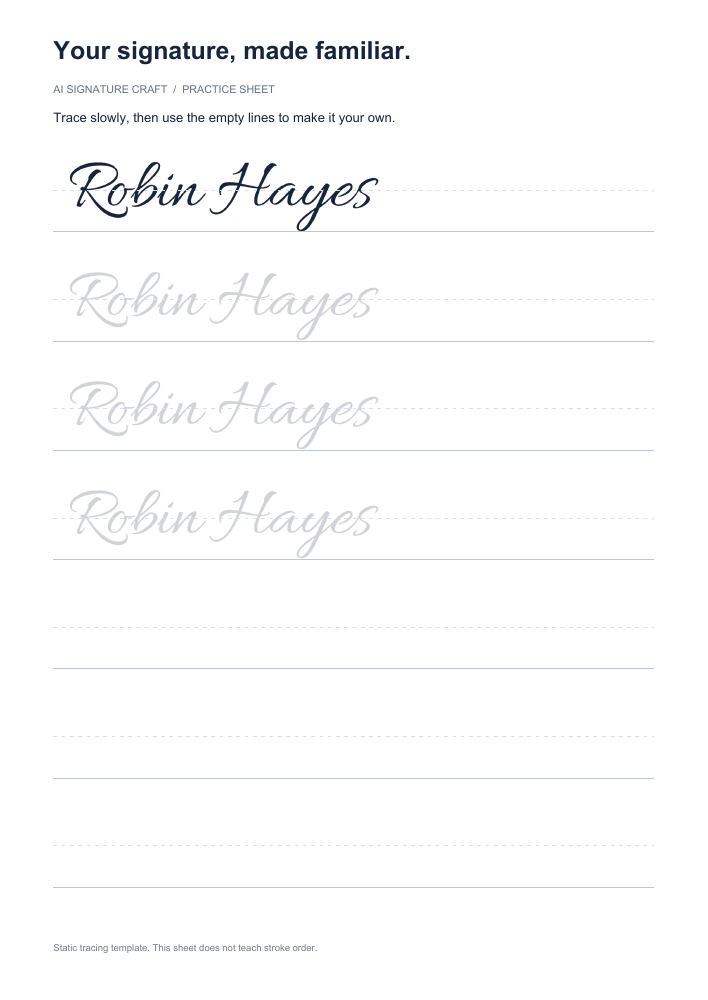
210 × 297 mm
Download sample PDF
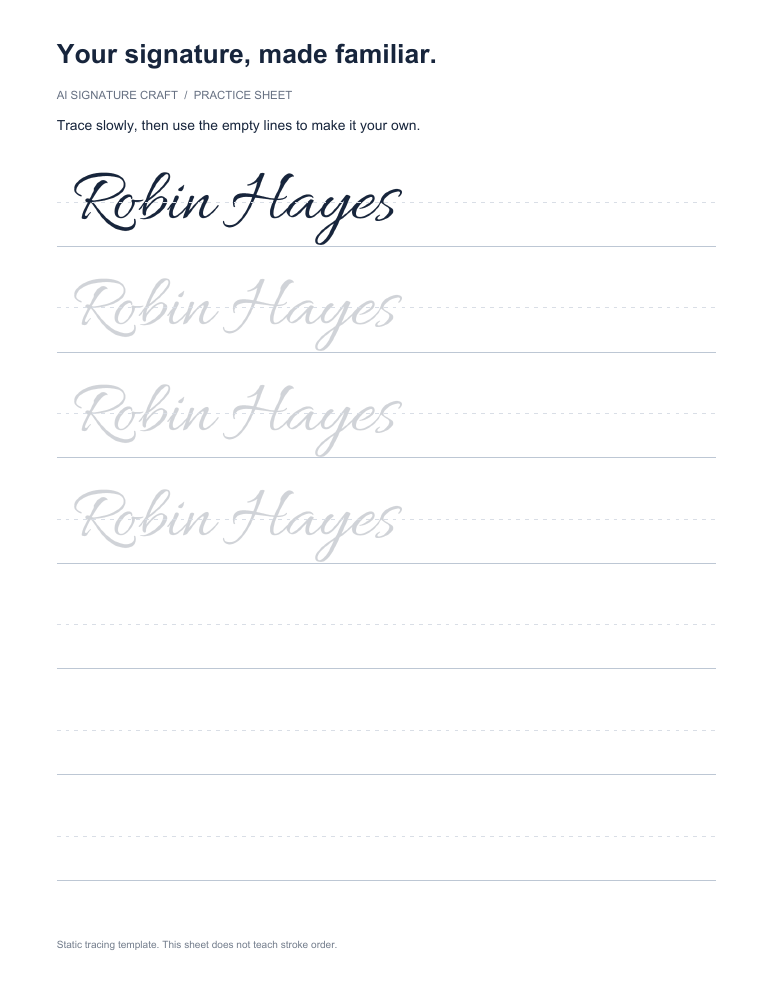
8.5 × 11 in
Download sample PDF
Font sample · Fictional name · The sample PDFs and these previews were produced from the same real exports.
- In Practice Sheets, choose the paper size already loaded in your printer.
- Download the PDF and open it in a PDF viewer. Choose the same paper size in the print dialog.
- Select Actual size or 100%. Turn off options such as “Fit to page” when you want the spacing shown here.
- Print one test page. Check that the bottom note and both ends of every guide line are visible before printing more.
The sheet contains seven rows: one clear model, three light tracing examples and three blank lines. The guides and spacing are the same in the on-screen preview and exported PDF.
A five-minute routine
- Look for one minute. Identify the opening capital, the main slant and the final stroke in the first row. Notice where you would naturally lift your pen.
- Trace for two minutes. Follow the three light examples slowly. Keep your grip relaxed and pause between attempts. Use familiar movements when a connection feels awkward.
- Write for two minutes. Use the three blank rows. Look at the model before starting each attempt, then write the name without following a printed outline.
Use a comfortable pen and a steady surface. The goal is a recognizable, repeatable overall shape. Small differences between attempts are normal.
Make one adjustment at a time
- The tracing is too faint: check that the printer is not using an ink-saving setting. The first row should remain clearly visible; the following examples are intentionally lighter.
- A flourish breaks your rhythm: shorten it, then practice the shorter form in the blank rows.
- The name looks compressed: leave more room between the difficult letters instead of trying to reproduce every join.
- Your design changed: return to its tool, select the new result and choose Practice again to replace the copy in this tab.
Circle the attempt that felt easiest. Repeat a short session on another day and compare the overall shape before adding more detail.
Print your own practice sheet
Choose a design and paper size →
If you started on paper, draw a digital version when you settle on a comfortable shape.